使用stm32cubeide(HAL库)开发
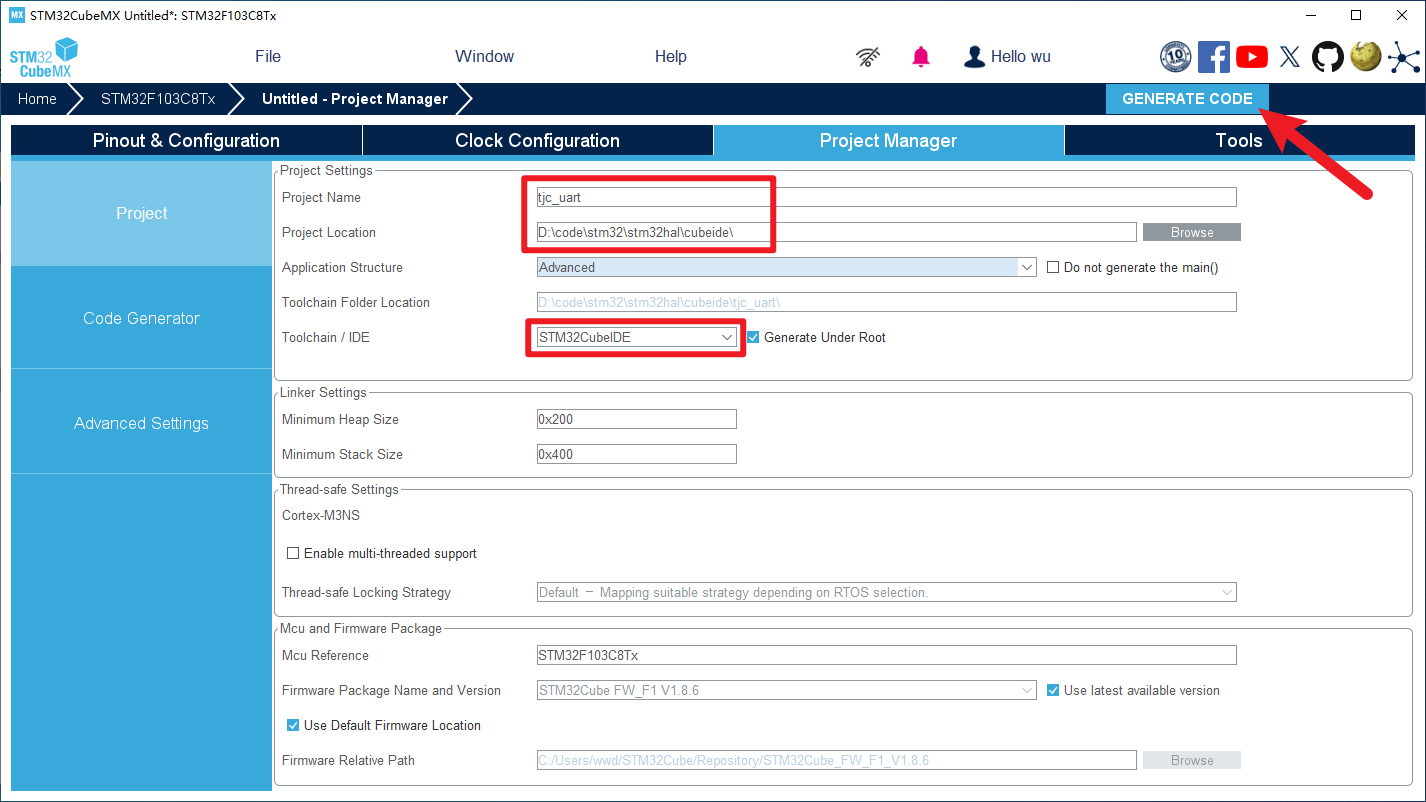
1、切换到Project Manager界面,设置Project Name(工程名称)和Project Location(工程路径),工程路径需要记下来,等会需要用到,最后点击GENERATE CODE来生成代码
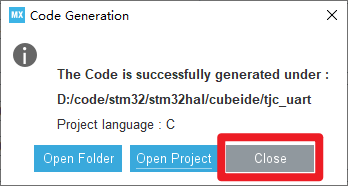
2、不要直接打开工程,点击关闭
3、打开stm32cubeide,设置工作空间。
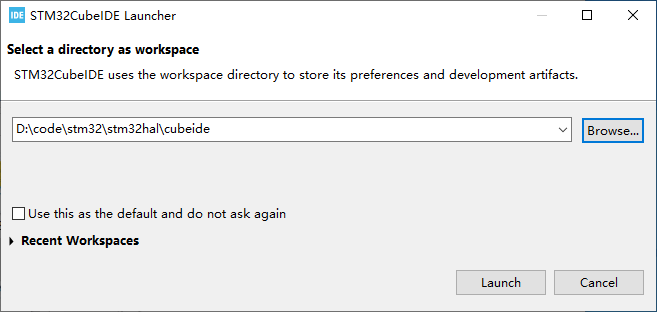
4、工作空间路径就是刚刚记下来的工程路径,点击launch打开

5、打开工程
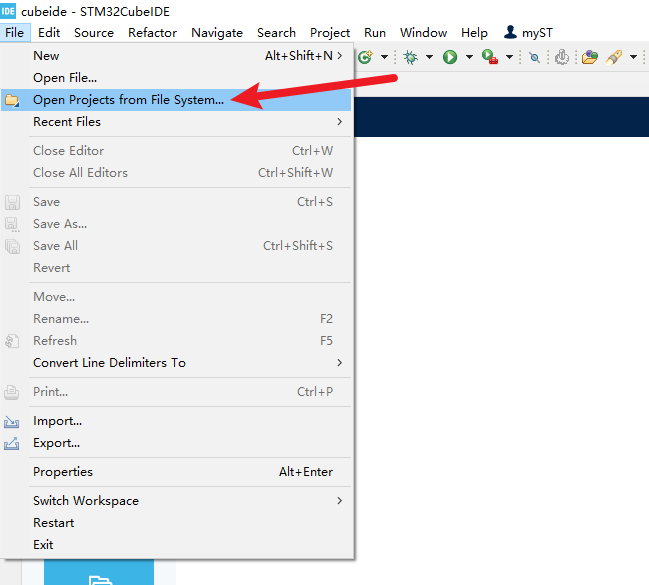
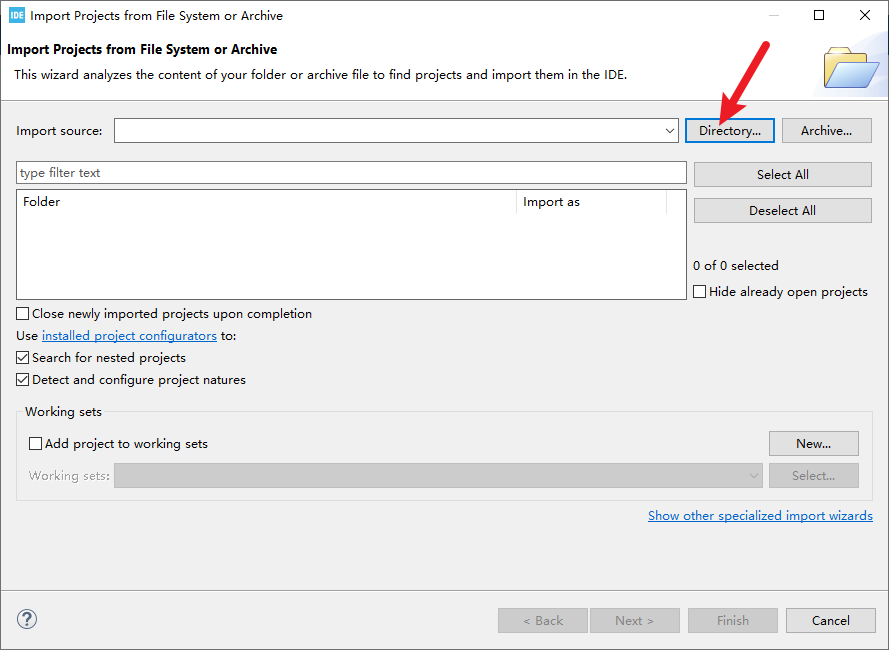
6、点击Directory,浏览文件夹
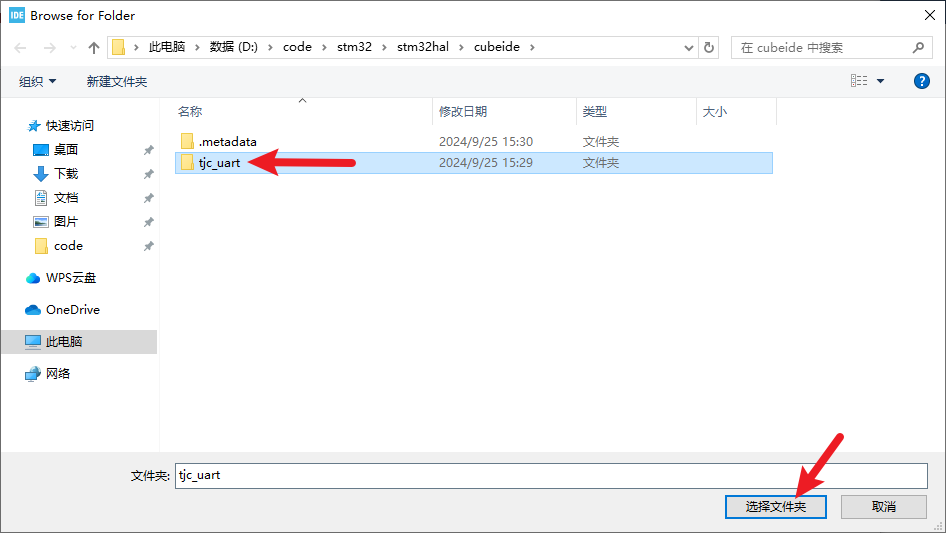
7、找到刚刚生成的工程,点击选择文件夹
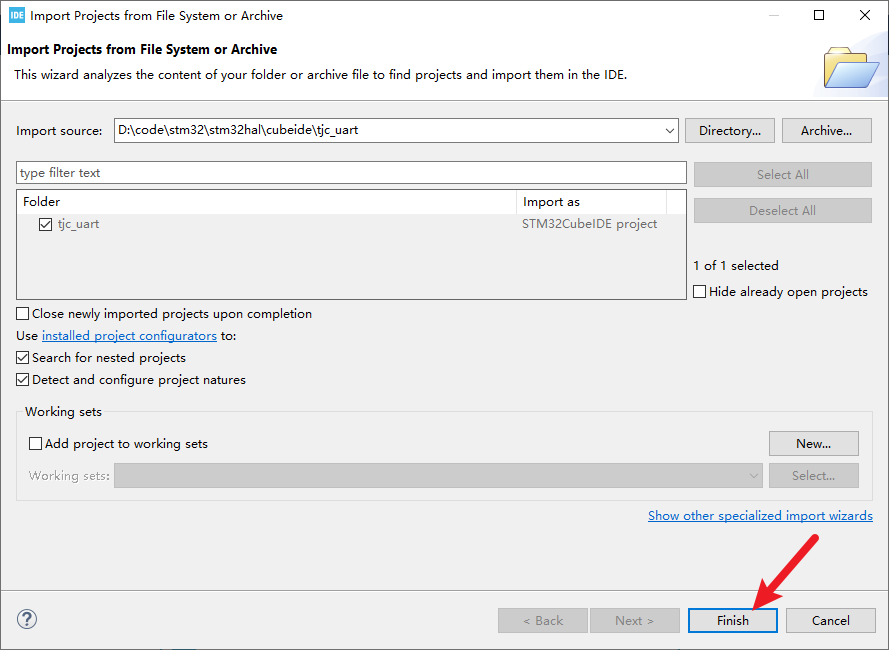
8、点击finish就可以打开工程了
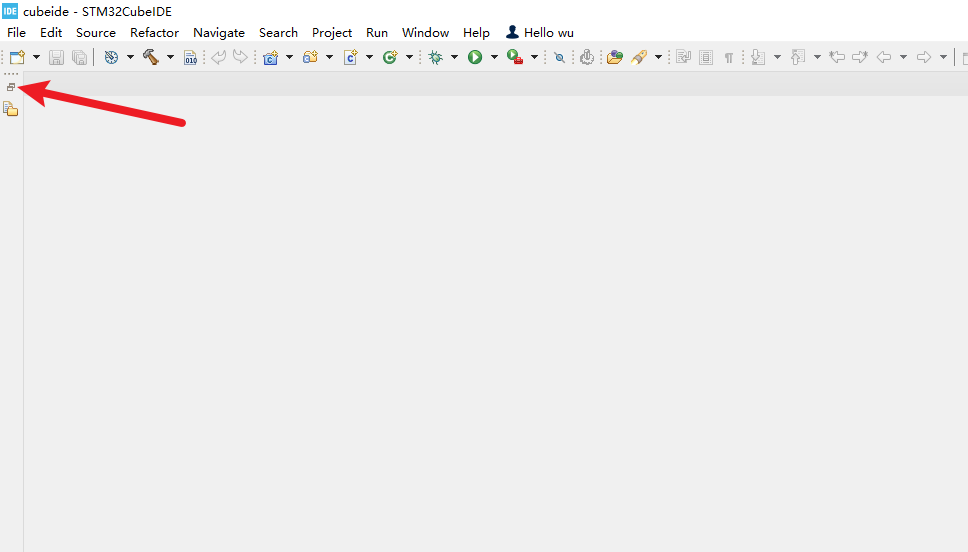
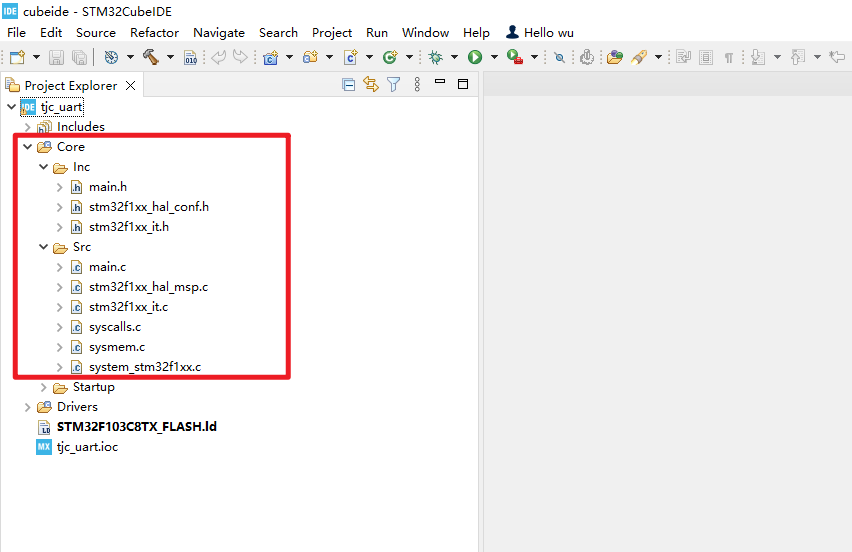
9、点击左上角的目录可以查看整个工程目录
10、Core里面的Inc和Src里包含的就是平时经常用到的代码
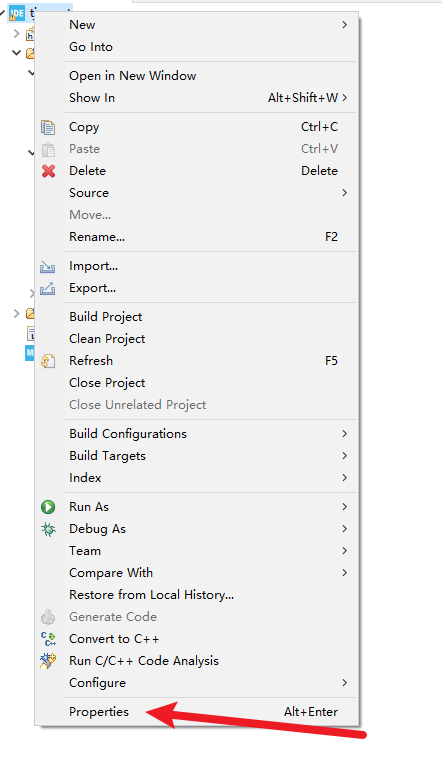
11、生成代码后请第一时间修改编码(现在不设置,后期修改时中文会乱码)。右键工程,选择Properties。
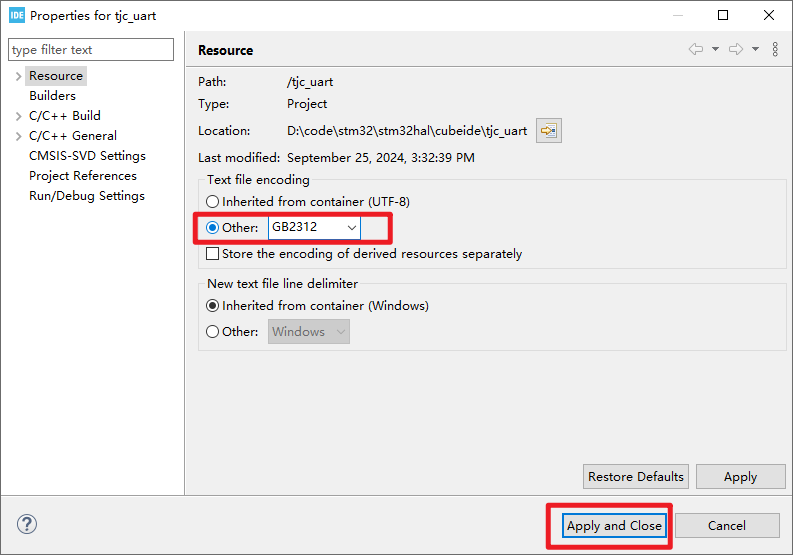
12、在这里就可以设置工程的编码了,根据自己的需求选择合适的编码,这里的编码要和串口屏的编码一致。某些编码不存在,可以手动输入,比如GB2312,输入完成后点击 Apply and Close 完成设置。
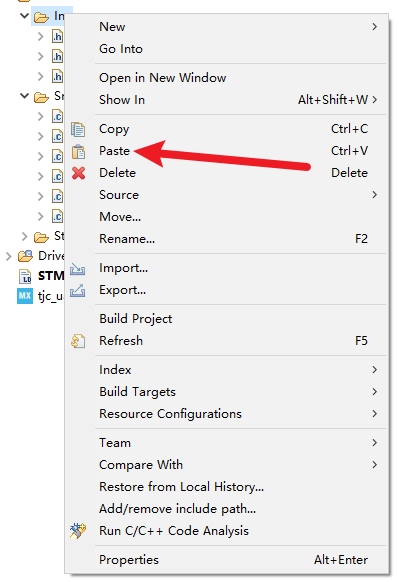
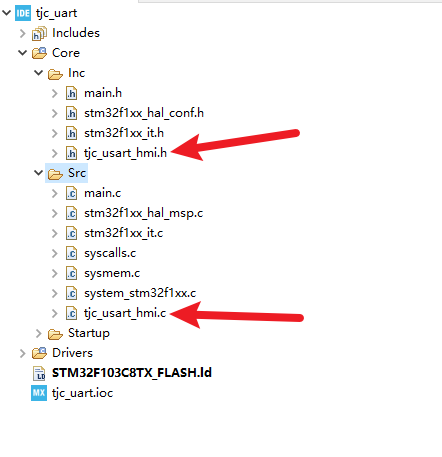
13、将tjc_usart_hmi.c复制到Src文件夹,将tjc_usart_hmi.h复制到Inc文件夹(这两个文件会在的工程里提供,需要自行从工程里找到然后导入客户自己的工程中)
下载地址 下载《stm32与串口屏双向通讯》例程
14、复制完成后如图所示
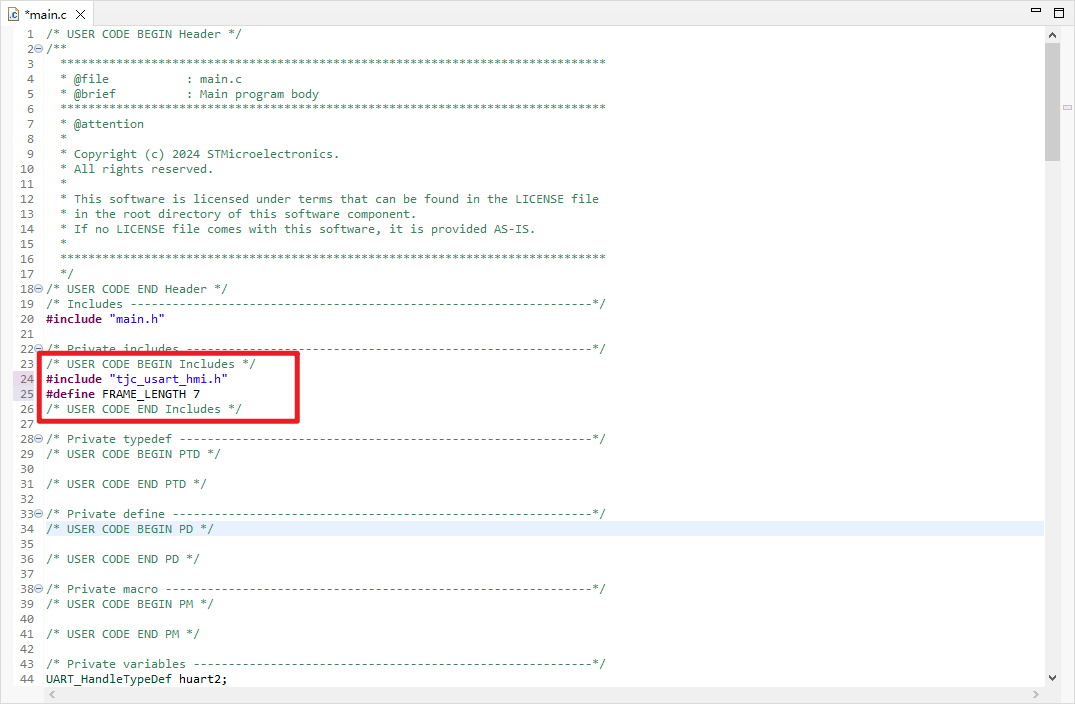
15、切换到main.c, 在 USER CODE BEGIN Includes 和 USER CODE END Includes 之间插入代码
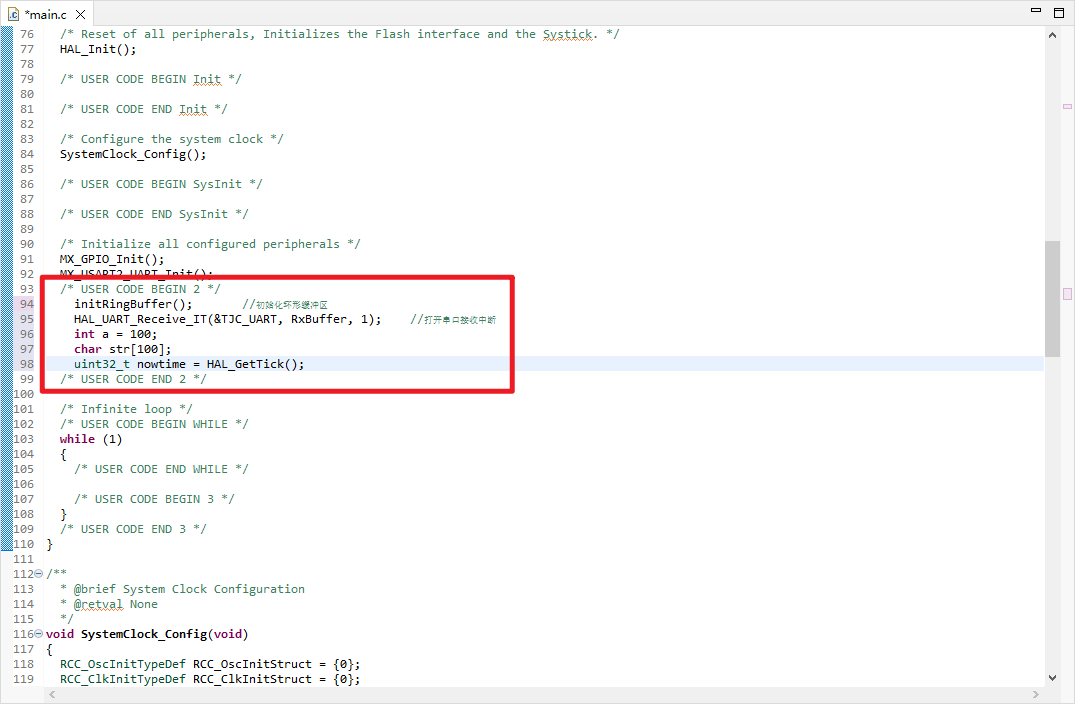
在 USER CODE BEGIN 2 和 USER CODE END 2 之间初始化环形缓冲区和打开串口接收中断
如有疑问请参考: 为什么要在begin和end之间插入代码
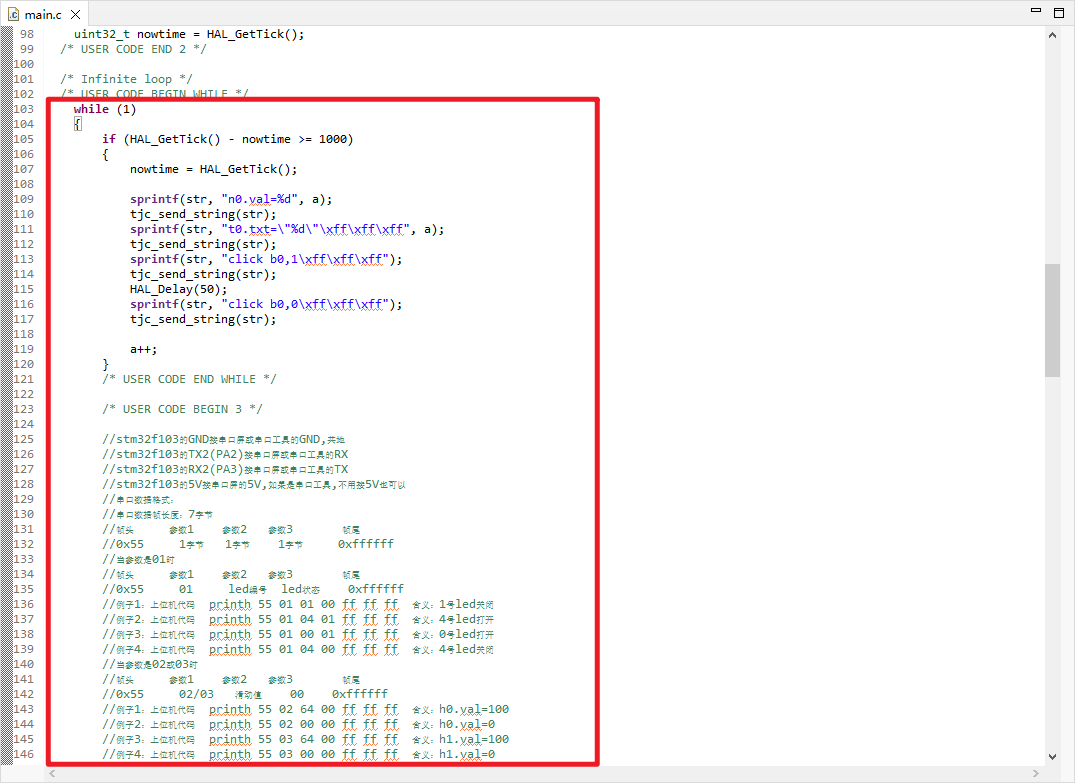
16、在while循环中编写定时发送和解析的代码
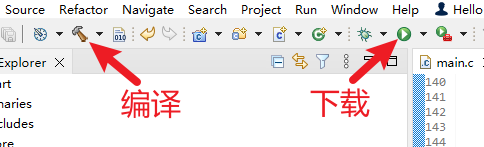
17、这两个按钮用于编译和下载
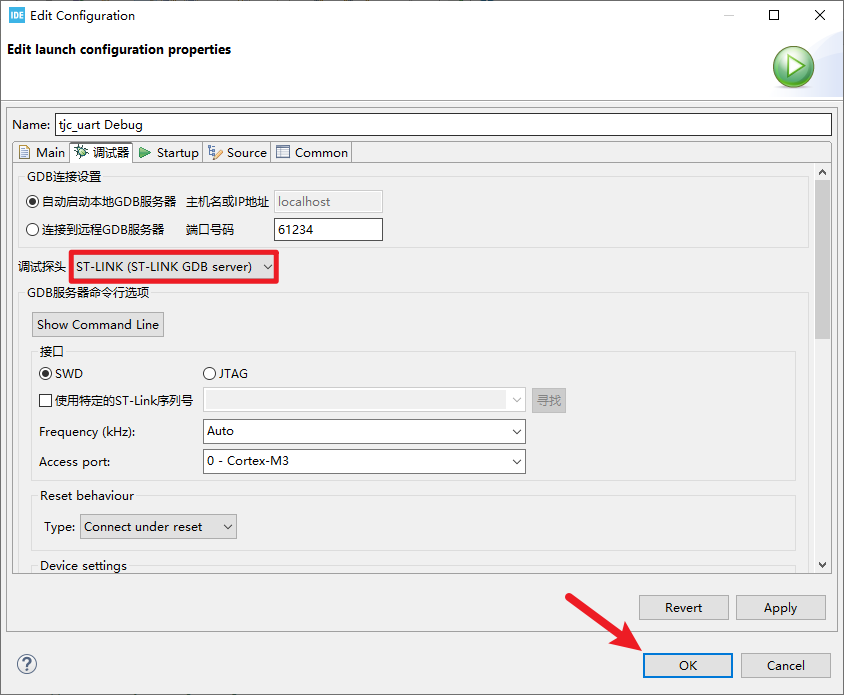
18、配置你的调试器
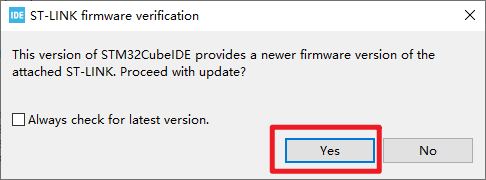
19、根据你自己的需求选择,第一次下载时建议更新一下stlink的固件
为什么要在begin和end之间插入代码
如果不是在begin和end之间插入的代码,在图形界面重新配置了STM32的功能并使用Generate Code生成代码时,会导致代码丢失
而写在begin和end之间的代码则不会丢失