串口助手软件(sscom)和屏幕联调
串口通讯工具sscom5.13.1下载链接:
连接的接线图如下
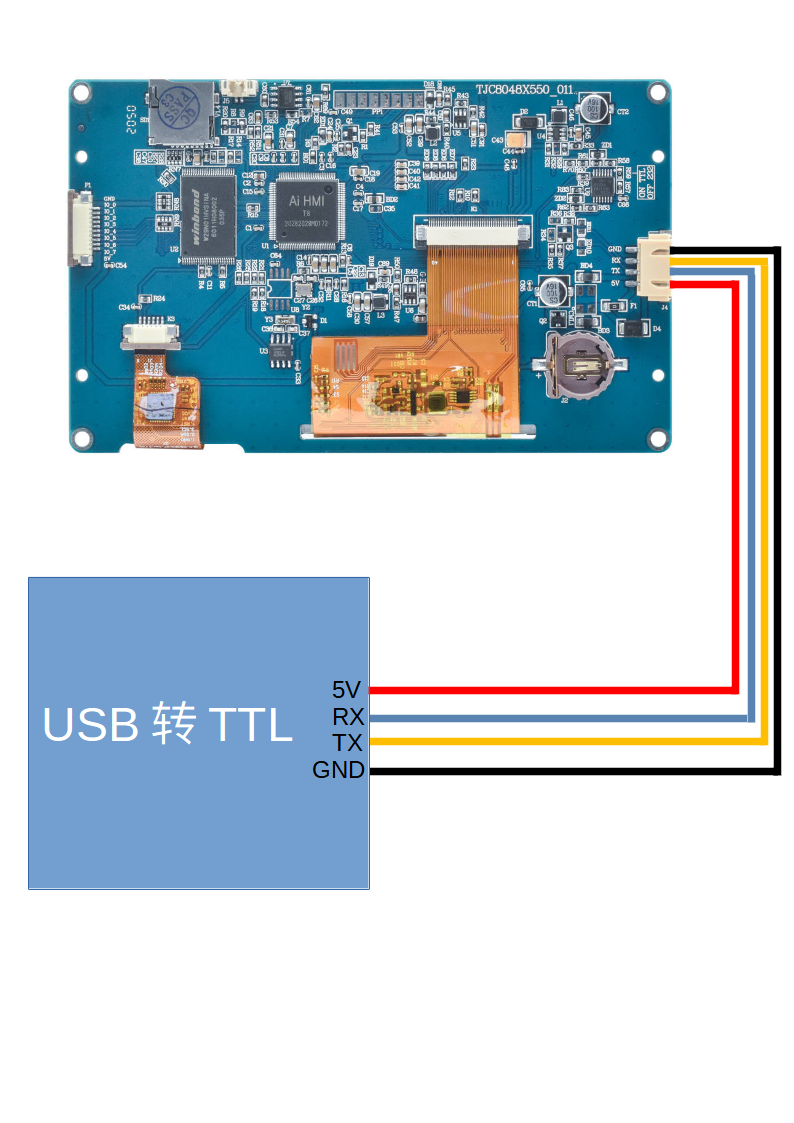
使用官方的USB转ttl连接串口屏如下所示
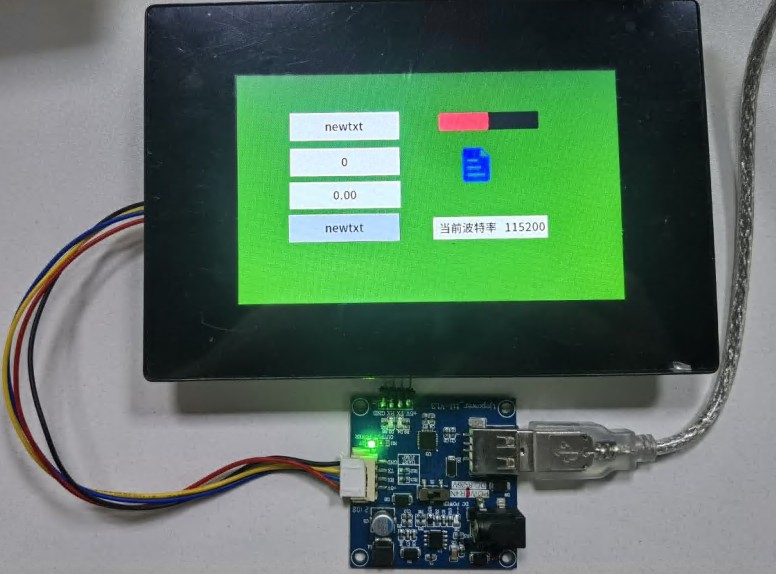
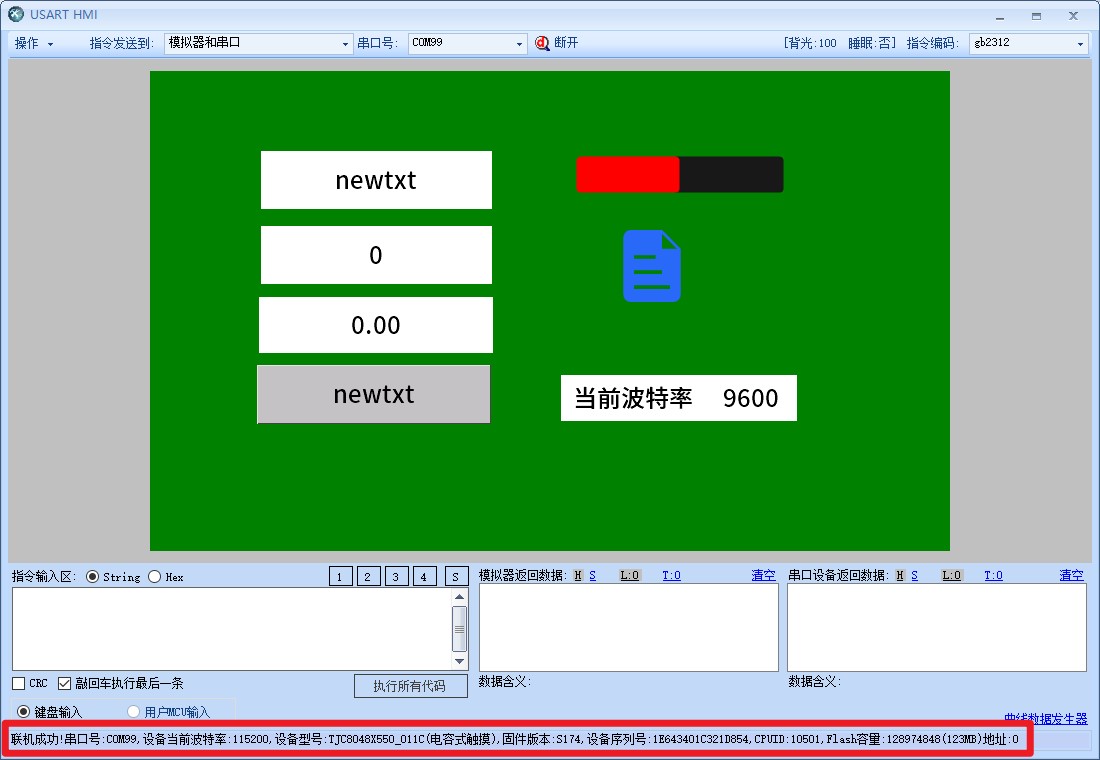
1.串口屏通过电平转换模块和电脑正确连接,是否连接成功可以先用我们上位联机试一下,这样确保硬件连线没问题。

联机成功后底部会显示联机信息,请记住红圈框起来的串口号和波特率,然后关闭模拟器界面
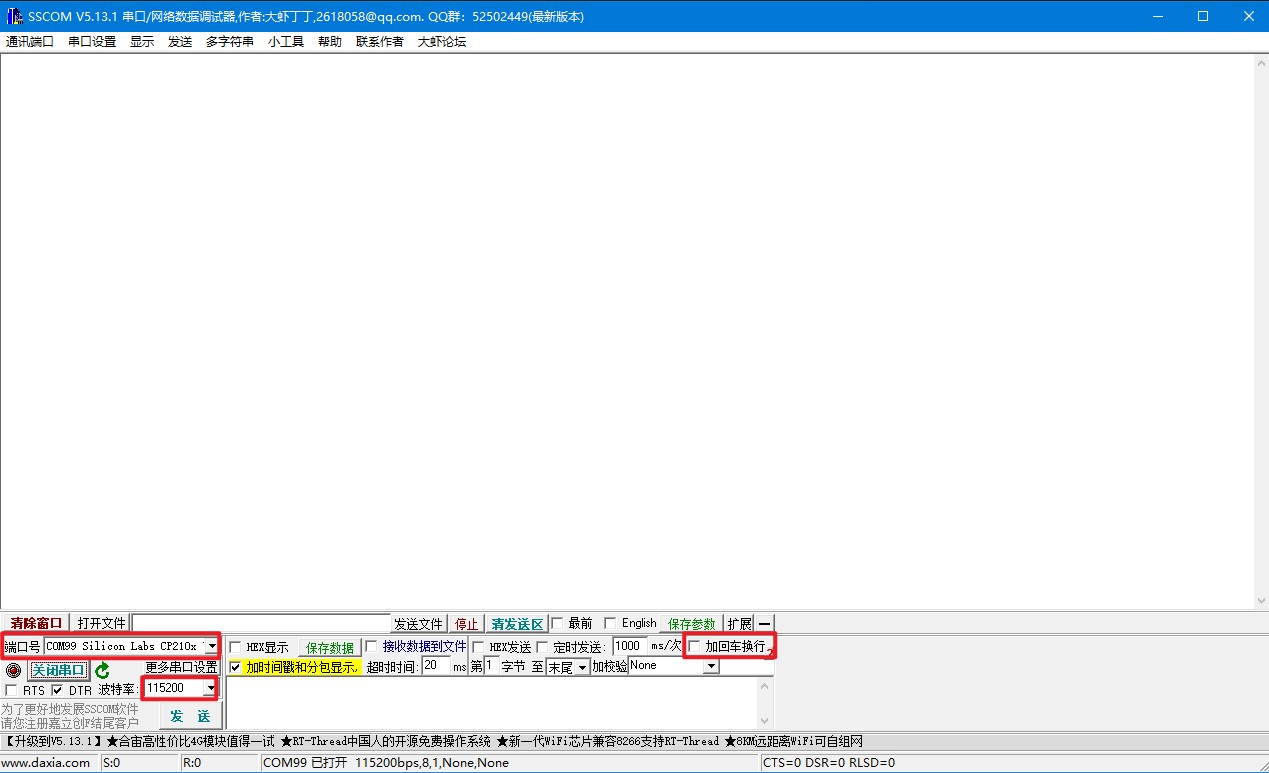
2.串口助手如下配置,串口助手请使用SSCOM5.13.1版本,根据实际情况设置端口号和波特率,不要勾选“加回车换行”
3.点击拓展

4.可以看到提前配置好的一些命令
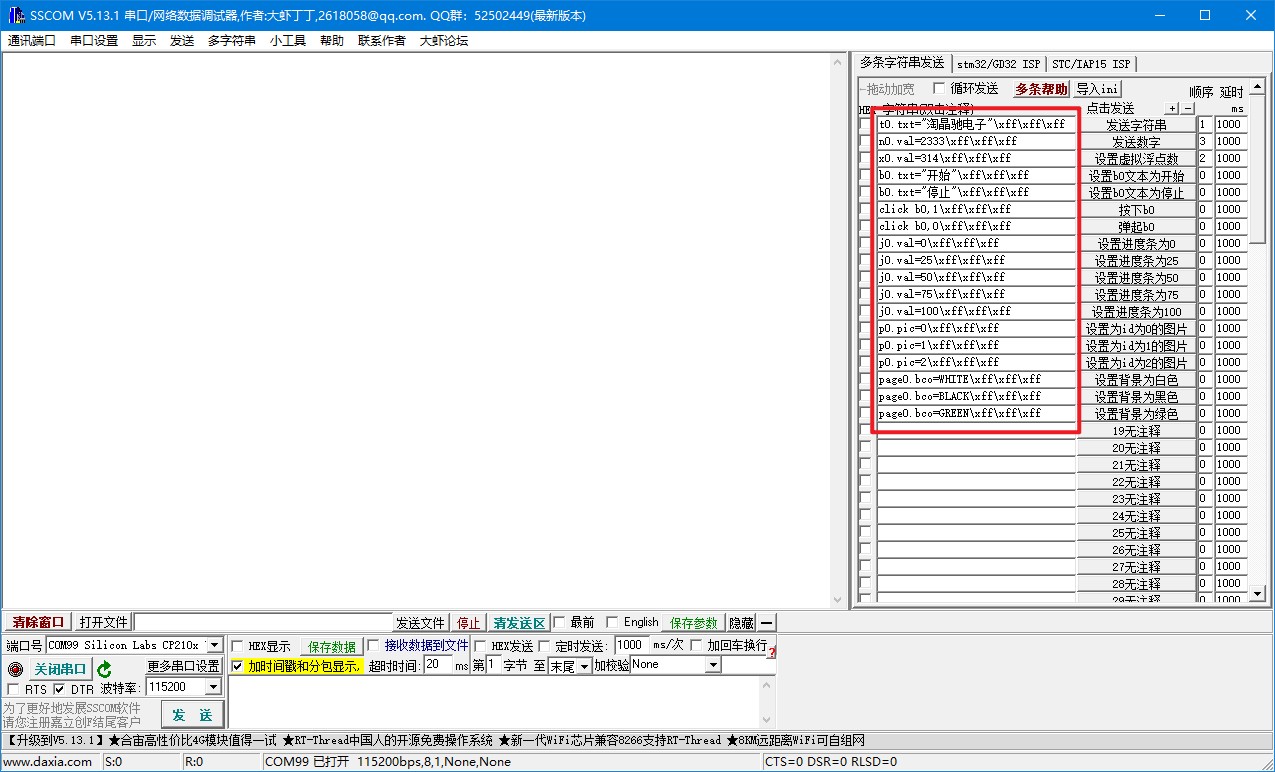
5.点击右侧对应的按钮进行发送即可
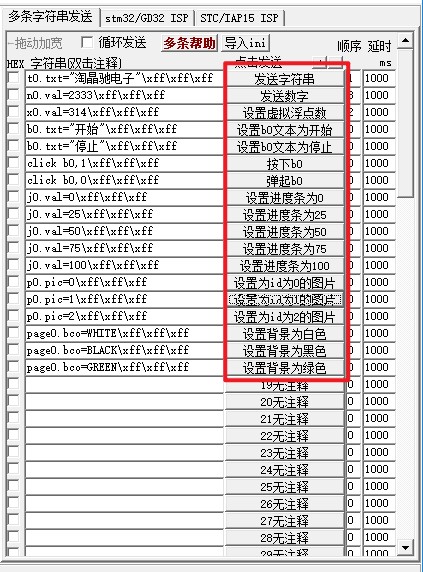
6.如有其它需求可以模仿提前配置好的命令进行编写
sscom和屏幕联调-样例工程下载
演示工程下载链接: