dim-当前背光亮度值
亮度范围:0-100(本次修改,重启后丢失)
注意
通常配置在program.s文件中,请写在page指令的前面,page指令后面的代码是不会执行的
注意
dim不会写入flash中保存,因此修改dim值不会消耗flash寿命
注意
dim和dims区别
dim:不会自动关机保存
dims:会自动保存,下次开机时还是此亮度值,每次修改为不同的值会消耗flash寿命
dim-示例1
//亮度设置为50%
dim=50

dim-示例2
//亮度+10%
dim=dim+10

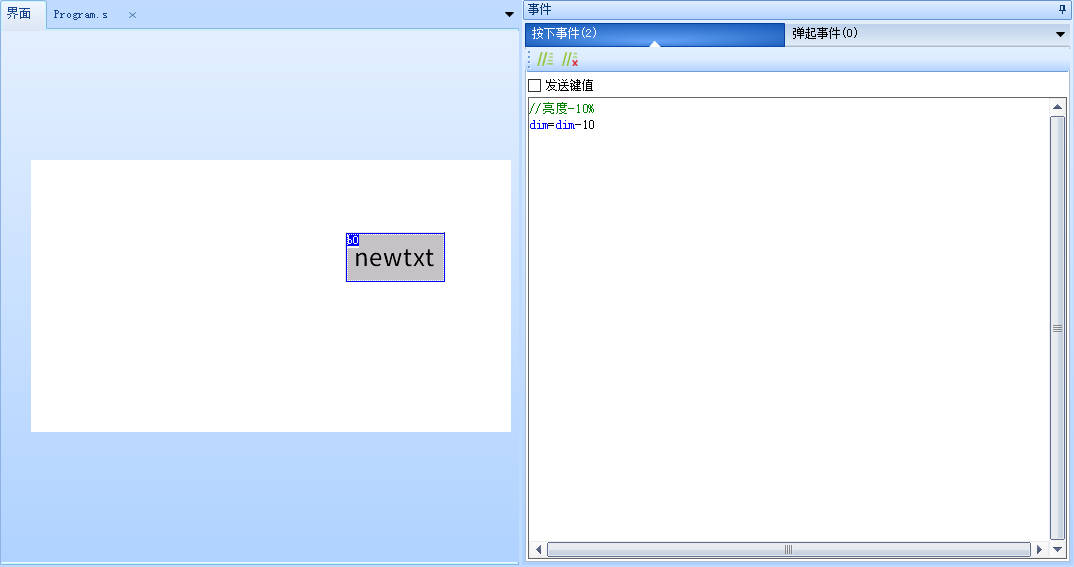
dim-示例3
//亮度-10%
dim=dim-10
dim-示例:息屏,灭屏,设置
//设置亮度为0%,即背光亮度为0,但是此时触摸是正常的,功能会正常响应,仅仅是亮度为0
dim=0

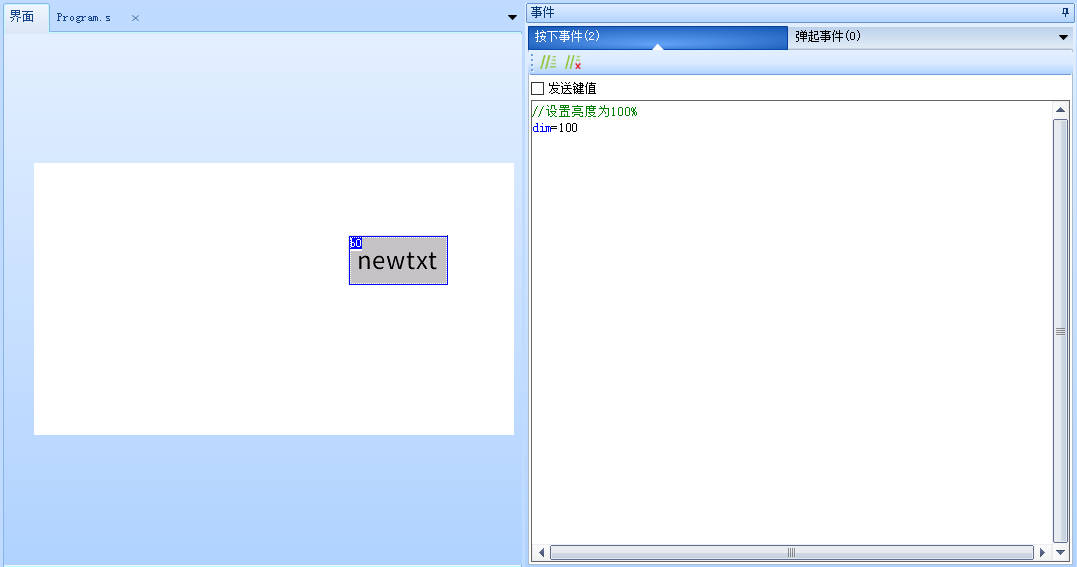
dim-示例:设置最高亮度
//设置亮度为100%
dim=100
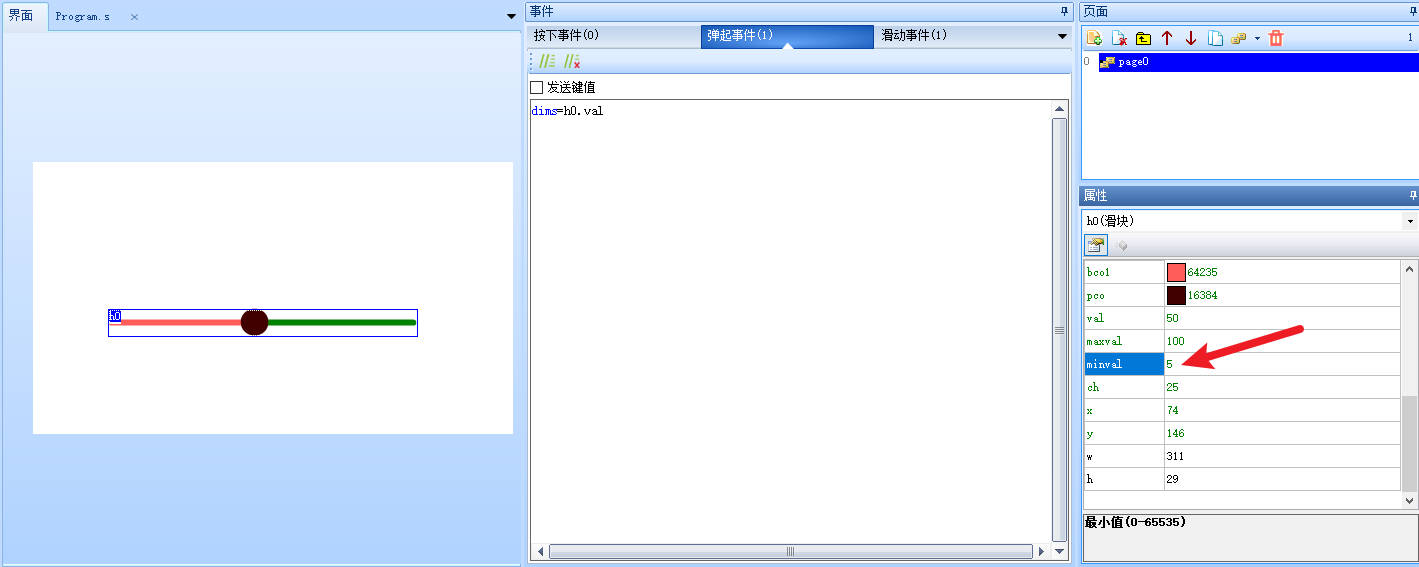
dim-示例:通过滑块设置亮度
在前初始化事件中将dim赋值给进度条
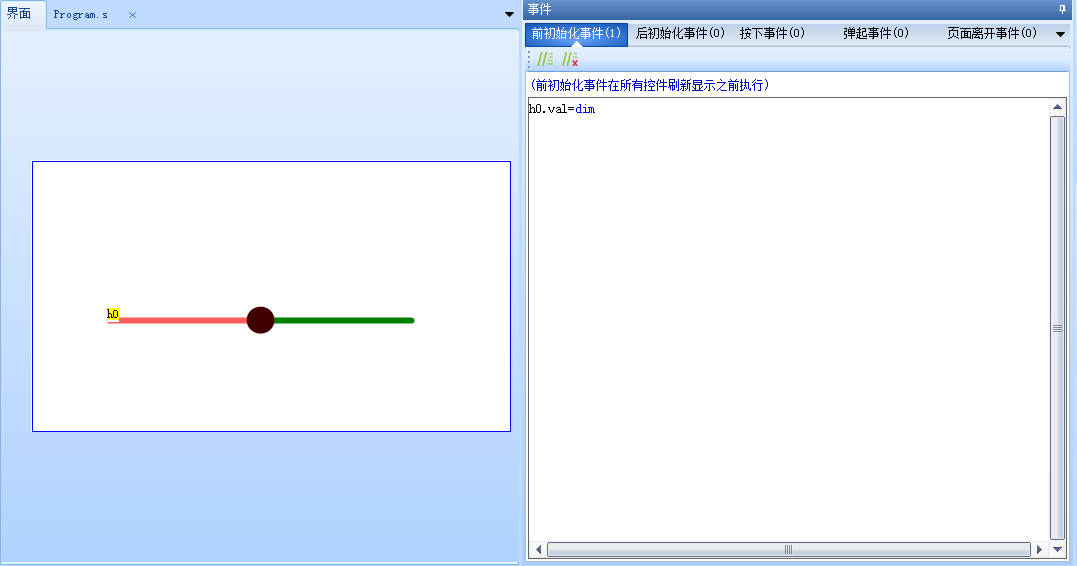
在滑动事件中将进度值赋值给dim
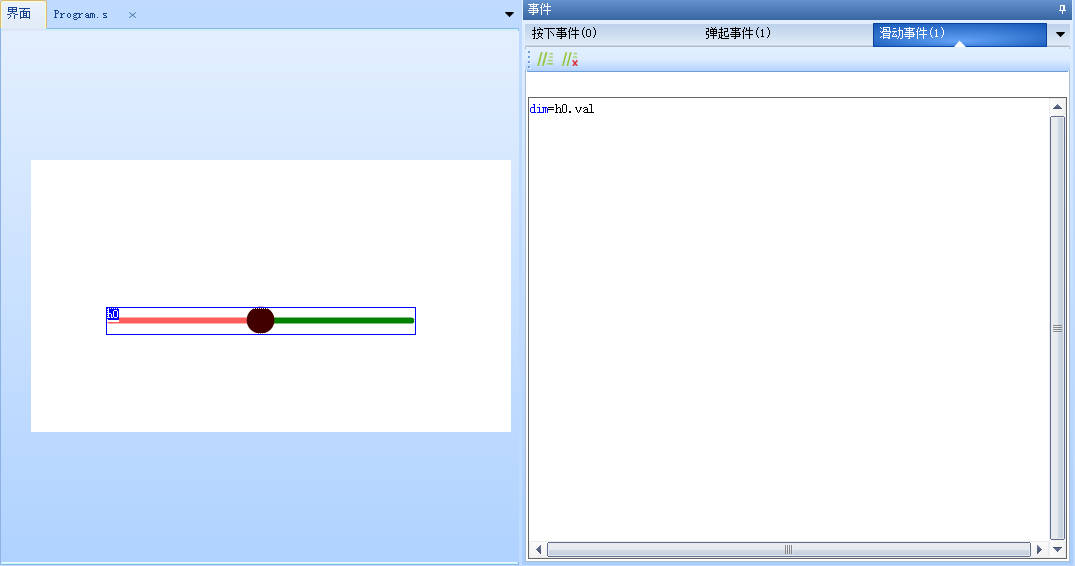
在弹起事件中将进度值赋值给dims
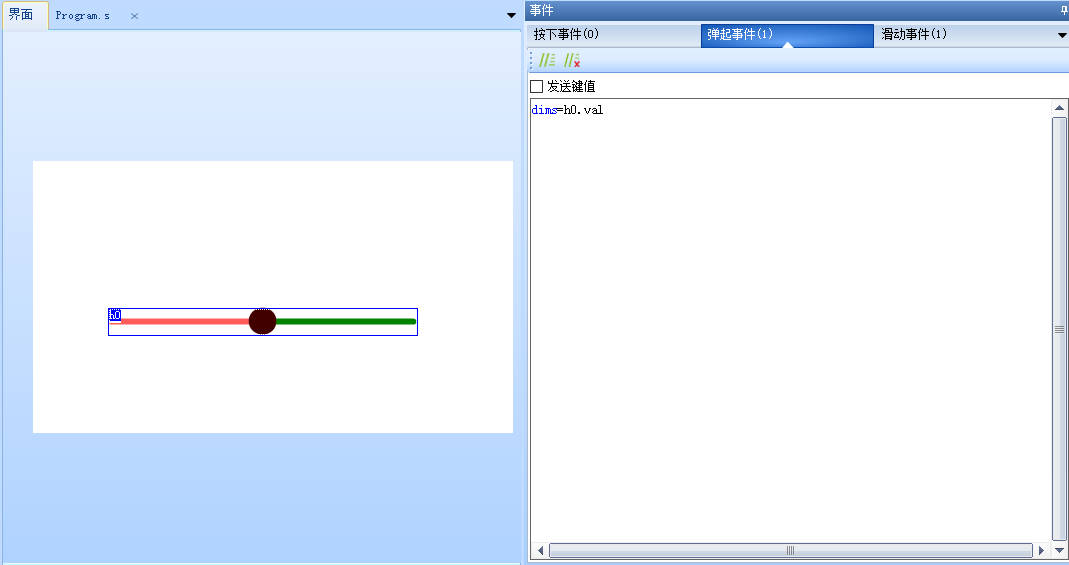
进度值的最小值建议设置为5,避免完全黑屏后没有办法调回来
dim-c语言示例
单片机通过串口控制串口屏当前背光亮度
//设置亮度为100%
printf("dim=100\xff\xff\xff");
dim-相关链接
dim-样例工程下载
演示工程下载链接: